![RawTherapee Review – Free Image Editing Software [2022]](https://aperlust.com/wp-content/uploads/2021/07/rawtherapee-review.jpg)
Last updated on January 6th, 2022
There are several photo editing software available in the market. But the most common ones, such as Adobe Lightroom, are not free. Finding and using a great photo editing application is vital for photographers, especially if your work heavily relies on post-processing.
Not everyone may know this, but the photo editing software you use has a significant impact on your workflow. If you are in the industry as a professional photographer, your workflow can make or break your profit. As a result, it is crucial to look for software that works well with you.
Although Adobe Photoshop and Lightroom lead the way in photo-editing software, they come with a price tag. If you are a professional photographer, paying this premium may or may not be an issue with you, but what if you are new in the industry? This is where the RawTherapee image editing software comes into the scene. But the million-dollar question remains. Can it replace the leading photo editing software in the market? Let’s find out.
What is RawTherapee?
The most straightforward explanation of what RawTherapee is: a cross-platform photo processing software. It’s free, open-source software, like Darktable, whose design is towards rendering RAW files from a wide range of cameras. Rawtherapee targets several types of users, from amateurs who wish to explore more about photo editing to professional photographers.
So how and where did RawTherapee start? It was in 2004 when the Hungarian software developer, Gabor Horvath, begun developing the project. But it was only in January 2010 when Horvath decided to make his source code available under the GNU General Public License.
As a result, programmers across the world joined and contributed to the project. Since then, the ongoing efforts of these software developers have made RawTherapee a capable and sophisticated photo editing software that can go head to head with other existing photo processing software.
RawTherapee lets you perform photo editing, color corrections, retouching, cataloging, tonal correction, noise reduction, white balance settings, and many more to your photos. If you would like to know more, read on to the following sections. It positions itself as an advanced image cataloger, which supports RAW file types. RawThereapee allows for easy management and editing of images across several libraries.
In this article, I will be reviewing RawTherapee 5.8, which was released on February 4, 2020. Currently, there are installers compatible with macOS, Linux, and Windows.
RawTherapee Review
In this review, we will only be providing an overview of the several features of RawTherapee. It goes through several updates and adjustments now and then, and discussing every single feature does not seem to be a wise direction. Should you wish to dive into a specific feature, you can find a comprehensive user manual on RawTherapee’s website. The user manual explains all of RawTherapee’s capabilities and provides a step-by-step explanation of using it.
Below is a summary of RawTherapee’s important features.
Interface
RawTherapee’s interface seems to look like every other photo editing software available in the market. It generally looks dark in appearance to provide focus on the main subject, which is the picture you are processing.
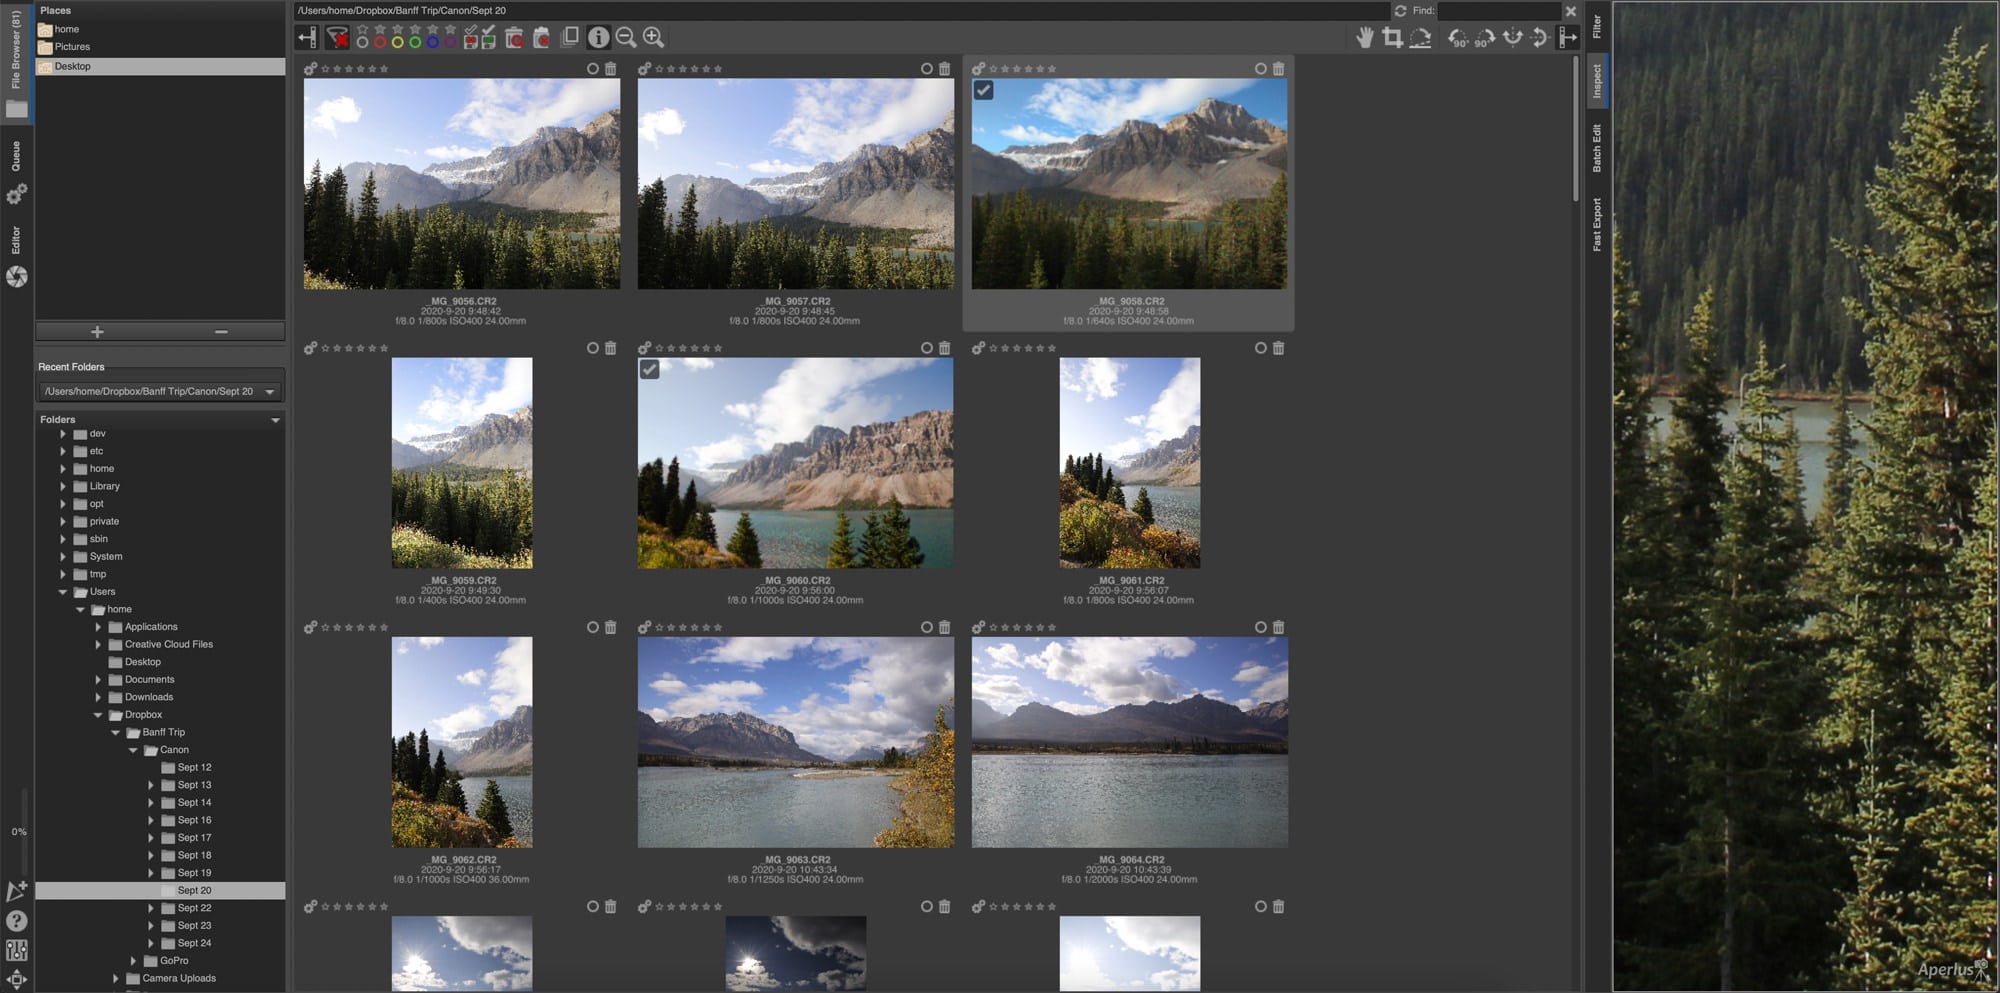
However, at first glance, you will find RawTherapee’s interface not as user-friendly as Lightroom. Some of the buttons, such as the File Browser, Queue (export), Editor, Filter, and Inspect (zoom), are positioned oddly.
Of these buttons, the main working areas are the File Browser, Queue, and the Editor. In the middle of the screen, you will see your photographs. On the right side, you will find some functions, which you can apply to your images. On the left side, you can browse your images.
When compared to other photo editing software, such as Lightroom, RawTherapee looks a little bit outdated. However, there is not much effect from a usability perspective.
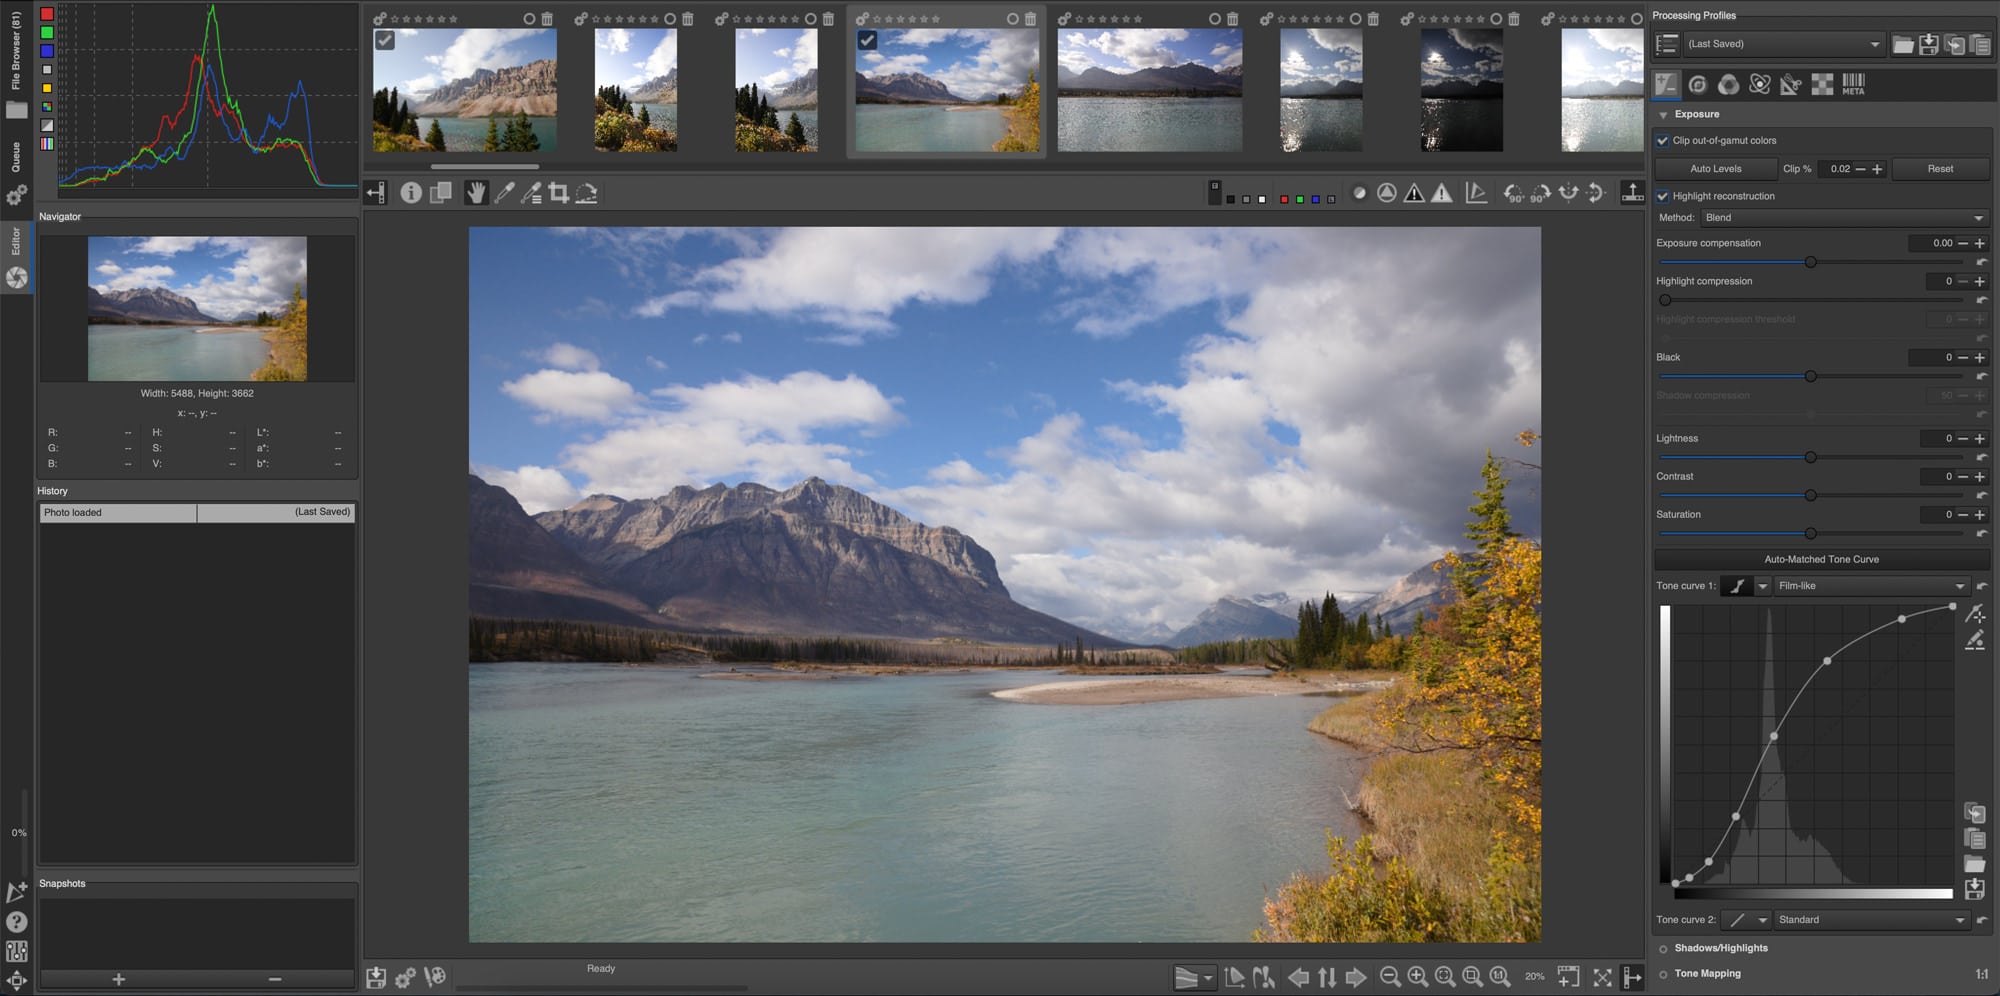
Upon double-clicking an image, the software will switch to the Editor tab. On the left side, you will find the histogram, navigator, and history of your edits. The middle of the screen shows a preview of the image you are editing. Looking on the right side are the adjustments you can make, such as exposure, shadows/highlights, vignette filter, dynamic range compression, graduated filter, and tone mapping.
One thing I noticed is the flower stamps on the lower right portion of the program. I am not sure why it’s there, but it’s probably to balance out that blank portion. The right and left panels are collapsible. You can also preview your image in full screen.
Overall, I think its interface is understandable and easy to learn. But if you are used to Lightroom’s interface, it may take you some time to adjust.
Importing Images
Whether your images are coming straight from the computer, camera, or SD card, we do not want to destroy them. Similar to leading photo processing software available in the market, RawTherapee is non-destructive, which means all the original RAW files and JPEGs you import are not altered.
All the edits you make with the images you import are processed, applied, and saved separately. Upon exporting these edited images, a new separate file is created. The original copy remains untouched and stays in the original folder.
Compared to Lightroom, the first difference you may notice in terms of workflow is in importing images. Most people, at least the ones I know, transfer all their images from the camera or SD card to their computer’s local drive. After that, they import these images into their photo catalog. Other photographers directly transfer their images from their SD card to the Lightroom catalog or another similar software like Capture One.
To give a little bit of background, photo catalogs in Lightroom are a database that stores information for each of your photos. The information contained in these catalogs is the following:
- References to the photo’s location on your computer
- Image editing data
- Metadata that contains keywords and ratings the user applies to the photo
Unfortunately, RawTherapee does not have photo catalogs. As an effect, it will not be able to help you import your images. Instead of directly importing from an SD card or camera, you will have to save your images to your computer’s local drive. From there, you can open them in Rawtherapee. It’s not in any way better or worse, but it’s simply something different.
As you can see in the image below, it’s a good idea to use cloud storage to save photos.
Some people may miss one handy functionality: adding metadata while importing photos into the software is not possible in RawTherapee.
Image Management
In terms of managing your photos in RawTherapee, the file browser takes on the spotlight. The summary for this is your file browser’s usability is dependent on how you manage your photos in your system. When you import photos into Lightroom, it automatically arranges them in separate folders by year and day. It’s not the case in RawTherapee.
Since image management is dependent on your system’s management, you will need to arrange your images using your Linux, Windows, or macOS file folder structure before moving to RawTherapee.
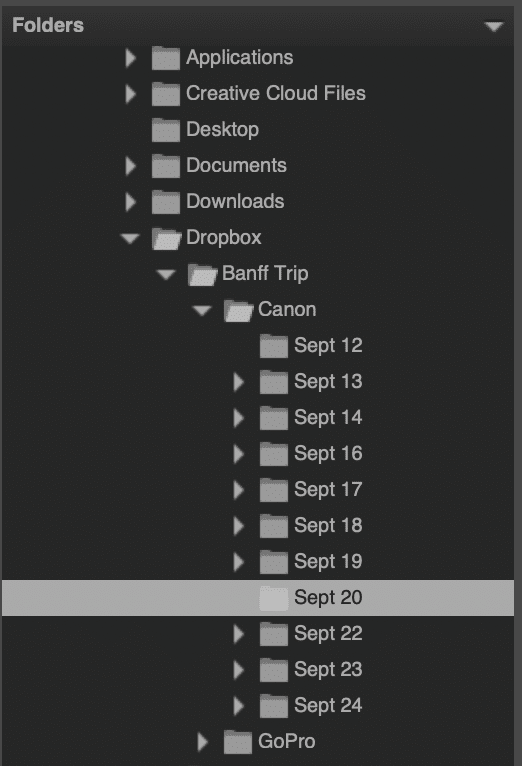
For example, I can arrange my photos in folders by year and month. I can also add a bit of description in the folder name. Doing so makes it easier remembering things. When I have it arranged in the order I want, I can begin importing these images into RawTherapee.
Some image processing software lets you open multiple folders at once. As of this writing, several folders open at once is a limitation of RawTherapee. For example, if I have a “2021” folder, and inside this folder, I have sub-folders for January, February, and March. You cannot view all the photos if you click on the “2021” folder. You need to click on the specific folder that contains the image you want to view.
RawTherapee does not offer an easy way to preview an image in the application’s library. There is no option to preview an image in full size and not even on 30% of the screen. The closest thing you can get to an image preview is the row of three (side panels are panel) or five (sie panels are collapse) images when reviewing. However, there’s a tool in the right panel called Inspect. When you select this, you can preview photographs in 100% when you hover your mouse on an image. The only issue here is you need to resize the right panel big enough to get a better view of the image.
In terms of image management flexibility, RawTherapee seems a bit lacking in this area. There are a few things they can improve on in a future release. Having the flexibility of previewing your photos from the main folder would be great to have.
Image Editing
Now we’ll review the vital aspect of RawTherapee — the image editor. Below are a few of the highlights.
Preview Modes
If you look at RawTherapee’s toolbar, you will find eight preview modes: four background colors, the three RGB channels, and luminance. They help customize the image preview. However, the con here is that it only allows you to use one preview mode at a time. A great way to maximize previewing images is during RGB curves editing or converting to monochrome via channel mixer.
Quick Exposure Setting
RawTherapee has an exposure section in the editor tab, which you can use to adjust different exposure values. To undo all your exposure changes, click the reset button. If you want the program to predetermine the best exposure settings for you, click the auto levels button.
Under the exposure setting, you can find sliders for contrast, black, lightness, saturation, and tone curves.
Preconfigured Profiles
If you are not in the mood to do manual editing, RawTherapee offers 32 filters for editing. Of course, you also have the option to create and save your filters.
Sharpening and Noise Reduction
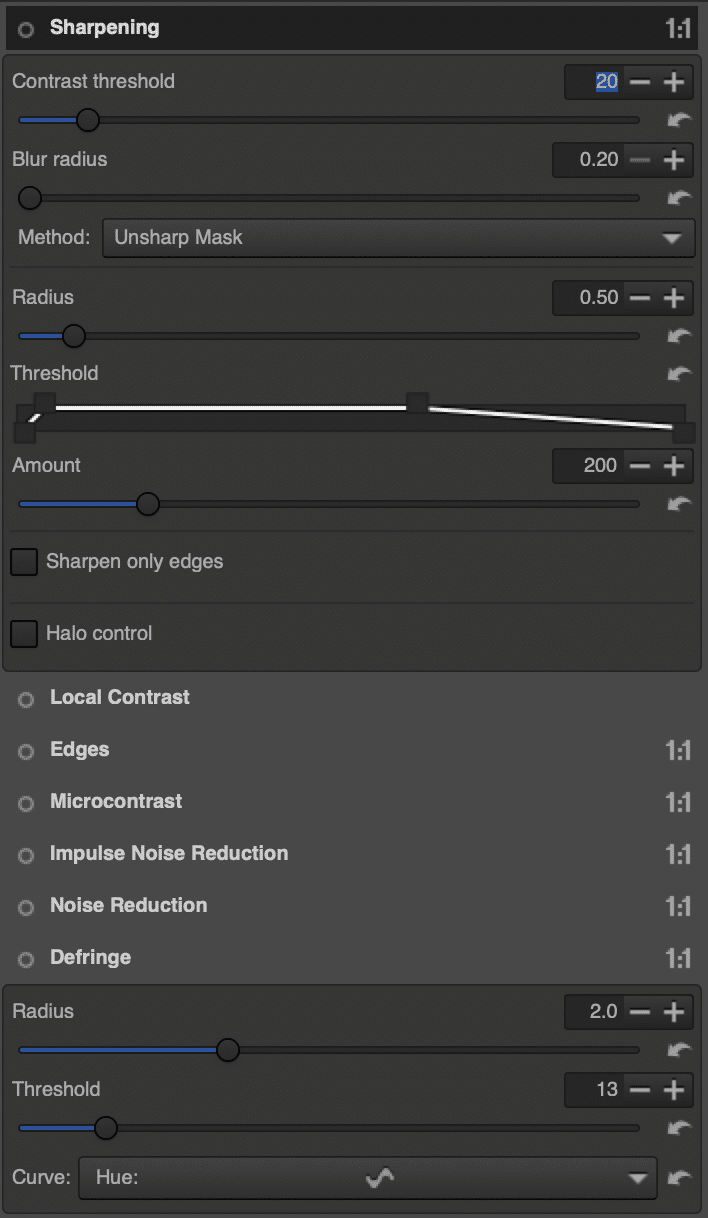
Next to the exposure section is the detail. This section takes care of noise reduction and sharpening of the images. In some cases, you will only see visible results when the image is 100% enlarged.
To sharpen photos in RawTherapee, you can do it in RL Deconvolution or Unsharp RawTherapee Masks (USM).
Let’s first take a look into RL Deconvolution. This sharpening is similar to applying Gaussian blur in Photoshop. The user needs to determine the blur radius. To prevent smooth sharpening areas, you need to use the damping slider.
On the other hand, USM uses the Amount, Radius, and Threshold adjustment options. However, it will only allow you to apply the tool in the shape of the object.
The noise reduction tool is one of the few tools that require you to bump it to 100% to see the effects. There are available sliders to control color noise and brightness. Should you need to change the noise reduction power in the tonal ranges, you need to use the gamma slider.
Color
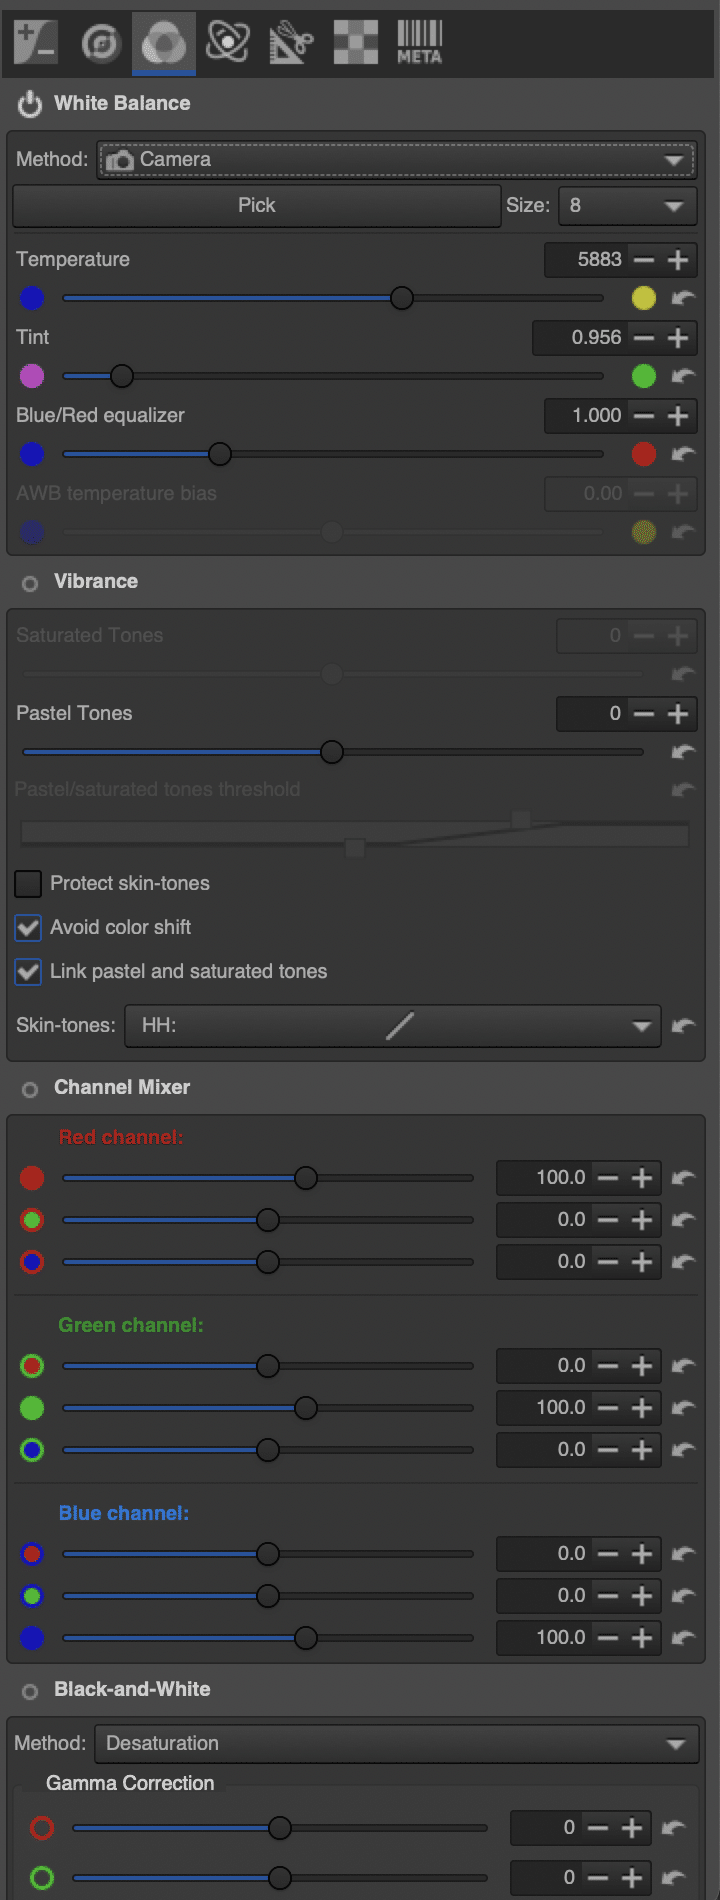
The color section holds the key for adjusting vibrance and white balance. It has tools like HSV equalizer, channel mixer, and RGB curves. To use these tools, you will need to use RawTherapee’s dropper tool. Vibrance is more customizable with RawTherapee compared to other similar programs. It allows you to make adjustments in pastel tones, shades, and even skin tones.
Should you need to adjust the RGB, the channel mixer is a valuable tool. Most photographers use the channel mixer to extend the white balance tool.
Exporting Images
When exporting images from RawTherapee, you will have to navigate to the queue tab. After clicking the export button, photos get sent to the queue tab. When exporting images, RawTherapee gives you the flexibility of choosing the specific types of edits you want to exclude. In most cases, you will not need this feature, but it’s nice to have it in case the need for it arises someday.
Before exporting images, you have the option to soft-proof these. If you do not know what soft-proofing is, it’s a feature of RawTherapee that simulates printer ink and paper. The image’s preview is what it will closely look like when it’s printed.
However, you need to set the correct printer profile to get an accurate render. To achieve the best print quality, set the output profile to the printer profile and save the image. Doing so ensures the image is processed using your printer’s color space.
Conclusion
If you are limited to free photo editing software, RawTherapee is an excellent choice. It packs several features for free software, but it does not come close to Lightroom. If you’re searching for an alternative to Lightroom, where you can buy a perpetual license and no subscription, then read our Capture One review.
Looking at the user interface, it needs a lot of work and improvement. The software itself feels a bit slow and unresponsive, which may impact your workflow when processing several images. It lacks some of the most essential organizational features of its competitors.
I would recommend RawTherapee for anyone starting or not having the budget to pay for an Adobe Creative Cloud subscription. It’s not the best software in the market, but it can get the job done.
