Last updated on April 10th, 2018
Selective color photography adds a nice pop to black-and-white photos. I sometimes use the hue and saturation adjustment layer in Photoshop to process selective color images. This method involves desaturating all the colors except the color you want to keep.
Selective Coloring of Guatape, Colombia.
I photographed the below while I was traveling in South America. I initially processed this image as a HDR image with color. The selective color photography technique of the starburst effect and the horizon gives this image a different perspective.
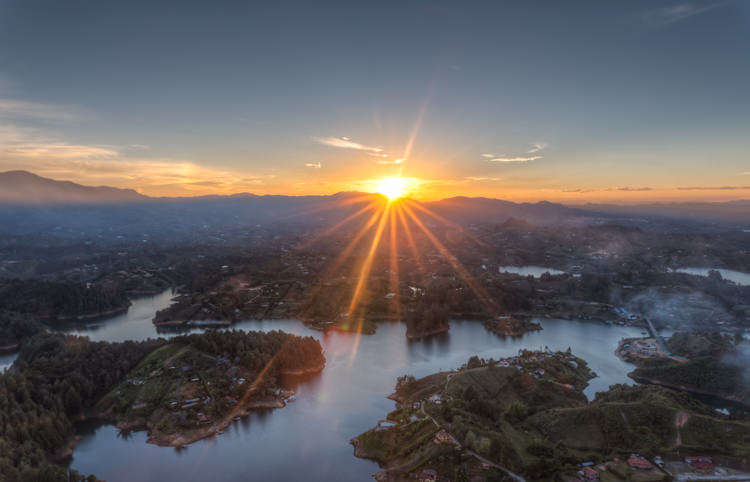
Image without selective color.
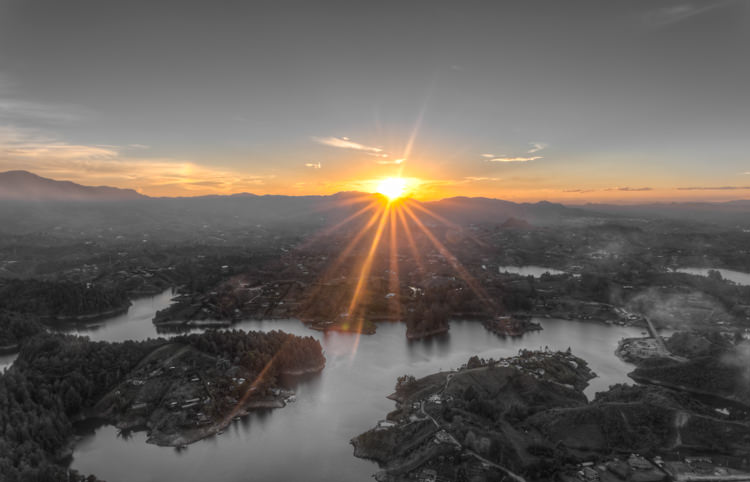
Image with selective color using the hue and saturation adjustment layer.
[/twentytwenty]
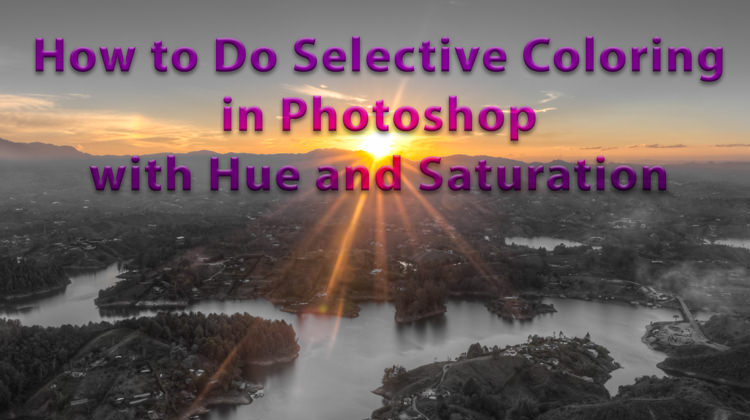
How to Do Selective Coloring in Photoshop with Hue and Saturation Adjustment Layer
- Create a new hue and saturation adjustment layer.
- Click on the color dropdown menu (default is master).
- Choose a color that you want to desaturate.
- Change the saturation to -100.
- Repeat steps 2 to 4 for all colors you want desaturated.
- Create a new black and white adjustment layer with a black mask.
- Paint any portions of the image that still need to be desaturated.
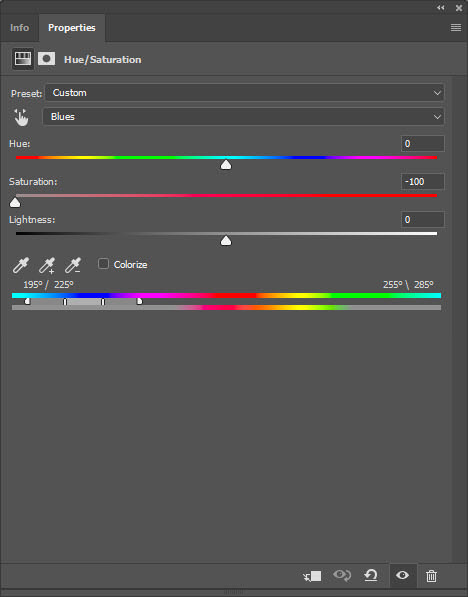
The saturation of blue is -100 to remove the color from the sky and elsewhere in the Guatape photo.

Hola Parceros,
I’m the founder of Aperlust. I enjoy web development and SEO and am into snowboarding and linguistics. In my spare time, you can find me destroying my opponents in chess across the globe.