Last updated on May 15th, 2022
Do you like ON1 HDR? Then click here and use coupon code APERLUST20 to get 20% off a perpetual license.
One of the most popular types of photography, especially when it comes to landscapes, is HDR photography.
HDR photographers can capture bracketed photos and merge them in HDR software. And that’s why I’m writing this ON1 HDR review. I’m going to test the software and see if it meets my standards.
For your information, I’ve been doing HDR photography for 7+ years. It’s the main reason I became involved in photography in the first place. I love the dynamic range, contrast, and saturation HDR photos provide for landscapes.
ON1 HDR Review
ON1 HDR is a standalone software that merges bracketed photos, through tone-mapping, from a high-dynamic scene to produce one image. It’s capable of merging 2 to 13 bracketed photos, but it’s unlikely most photographers will be going over 5 bracketed photos.
Highlights
- HDR looks from a single photo
- packaged with many presets
- Lightroom plugin
- supports RAW files
- retouching tools
- ghost removal
- lens correction
Like many HDR software, there is also a Lightroom plugin available.
Though ON1 HDR is a standalone software, it’s designed to integrate with ON1’s primary photography software, Photo RAW, which is an alternative to Lightroom. Feel free to read my Photo RAW review.
How ON1 HDR Works
ON1 HDR is straightforward to use. Open a set of bracketed photos, choose your options to align and deghost the image, and then merge them.
Once the merging is complete, you’re left with the intermediate step of making the specific adjustments you want with the software’s editing tools. They include the basic tone and color adjustments.
A nice feature of ON1 HDR is that it includes layers. You’ll be able to test different types of adjustments to your liking.
But the fastest way to make an aesthetic HDR image is to use the included presets.
Test Case
For my test case, I used a set of bracketed RAW CR2 files from my time in the Angkor Wat complex in Siem Reap, Cambodia. I was on top of the ancient Hindu temple Phnom Bakheng.

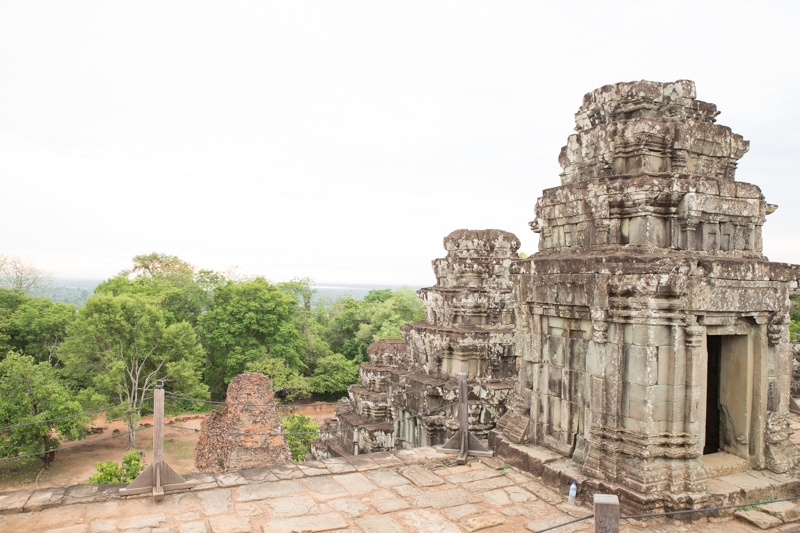
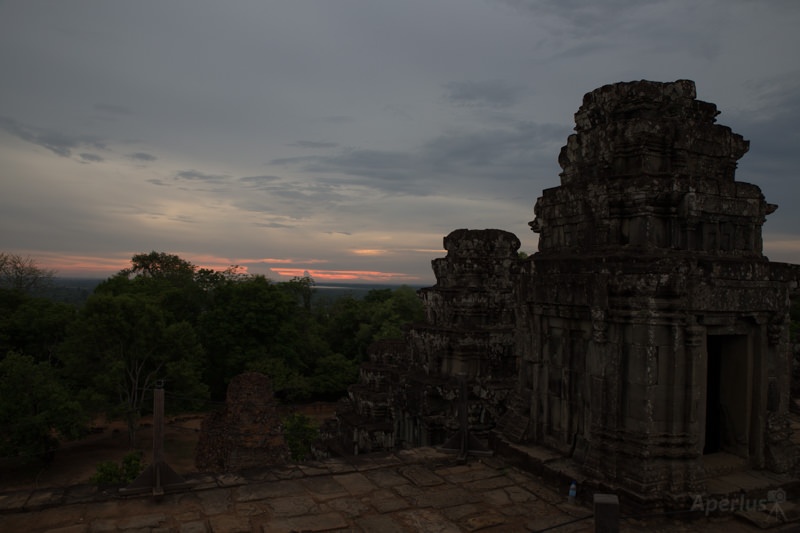
For the 3 bracketed photos, I used a tripod. A tripod is preferred but not always necessary if you’re shooting fast. They were photographed at f/7.1, ISO 100, and -2, 0, +2.
When you open ON1 HDR, you can import a single set of photos or you can batch process multiple sets. Generally, you would batch process multiple sets if you are doing a time-lapse, HDR video.
Anyways, I just ended up dragging my 3 files into the software.
At this time, you’ll have a few merging options:
- deghosting
- default look: natural, natural auto, surreal, surreal auto
- align images
The default looks are styles or effects from the HDR Looks option. With auto, it also uses the photography software’s AI Auto adjustment to balance the tones and colors. This is only a starting point and you’ll most likely want to make additional adjustments to make the image pop.
After I choose my merging options, I clicked save. This took me to the main editor where the real fun begins.

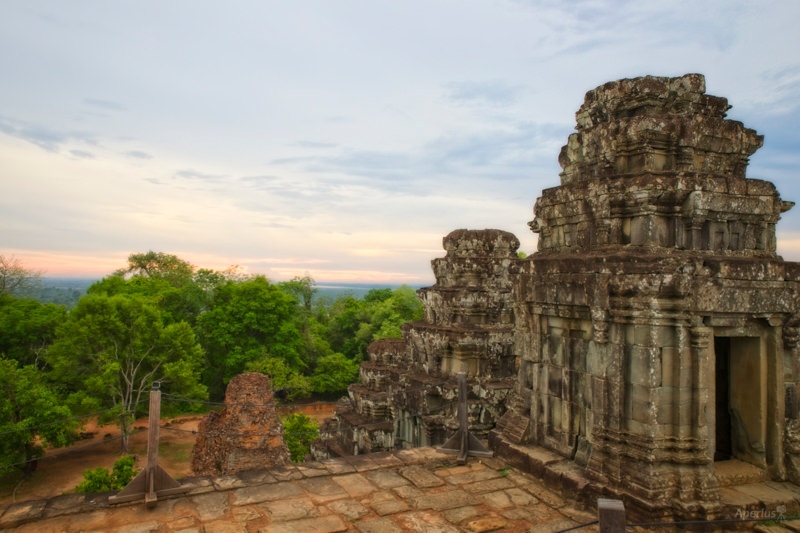
The best way to test different adjustments to your HDR image is to use presets. That’s what I did in this case. I chose the Dramatic D5 preset and I was quite pleased with it.
Some jerk left a water bottle behind on the temple. I used the Perfect Eraser, also known as the healing brush to many photographers, to remove the water bottle.
Below is the final image. Usually what I would do is take an image like this into Photoshop and start playing with the tones and local adjustments to see if you could make the image more appealing. But this quick edit was still good.
Price
ON1 HDR usually costs $49.99 and is sometimes on sale for $39.99. This price is a bit cheaper than other HDR software.
System Requirements
Minimum
- macOS 10.12 through 10.15; Windows 7, 8 or 10 releases, 64-bit only
- Intel Core i5, Xeon or better processor
- RAM 8 GB
- hard drive 1.5 GB for installation
- display OpenGL 3.3 compatible video card with 512 MB video RAM, 1280×720 resolution
Recommended
- macOS 10.14 or 10.15; Windows 10 current releases, 64-bit only
- 4-core Intel Core i5, Xeon or better processor
- RAM 16 GB
- hard drive 1.5 GB for installation Fast (7200 RPM) or SSD drives
- OpenGL 4.2 compatible video card with 2 GB dedicated video RAM, 1920×1080 resolution
ON1 HDR Alternatives
Conclusion
ON1 HDR is a decent tone-mapping software that works.
I found the image alignment doesn’t work well. I noticed one of my other test photos didn’t align properly. Though it was bracketed photos shot handheld with noticeable movement, ON1 HDR should have been able to handle the alignment like other HDR software.
In order to get the most value out of ON1 HDR, it’s best to buy ON1 Photo RAW, which includes ON1 HDR, Effects, and Resize. But Photo RAW can be clunky sometimes.
I wouldn’t buy ON1 HDR as a standalone software, Aurora HDR does a better job, though at a higher cost, at merging HDR bracketed photos and has more features. You can read my Aurora HDR review here.

Hola Parceros,
I’m the founder of Aperlust. I enjoy web development and SEO and am into snowboarding and linguistics. In my spare time, you can find me destroying my opponents in chess across the globe.
Hi Vincent. A good review, however, I disagree with your opening statement that HDR is used a lot by Landscape Photographers. This genre will almost always use filters to balance exposure rather than HDR. HDR photography is particularly useful in Travel Photography and in most cases, unless there is an extreme variance in highlights and shadows it is really only necessary for those that do not shoot on full-frame sensors. We used to shoot a lot of HDR’s back in our APS-C days, but rarely these days on Full-Frame. Nevertheless, a good review. Cheers Paul