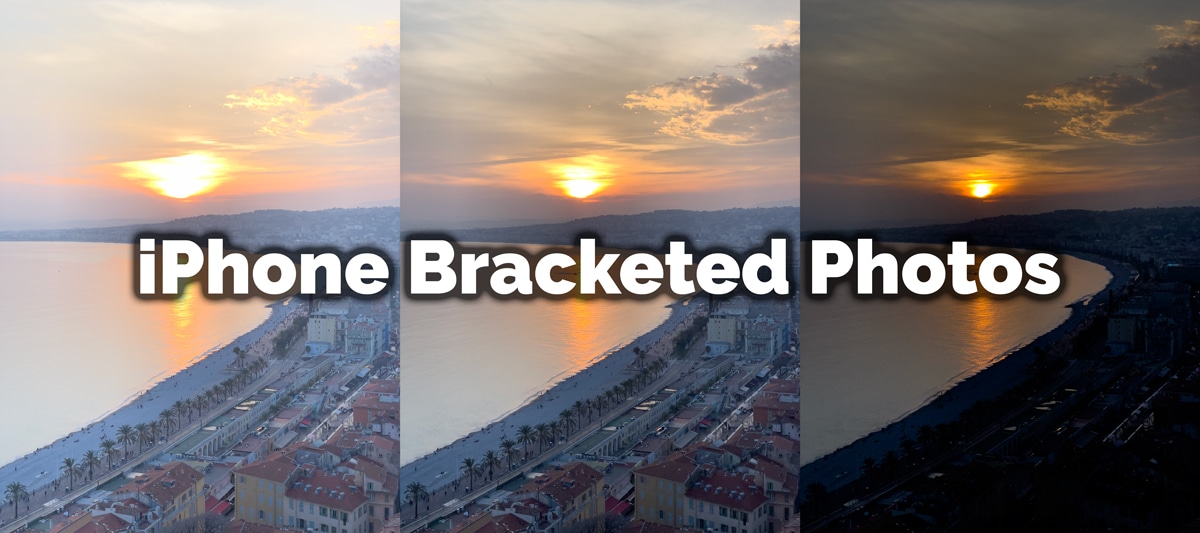
HDR photography requires bracketed photos, which are done automatically by an iPhone with the HDR option on the camera.
But what if you want to manually take bracketed photos with your iPhone, similar to how DSLR and mirrorless cameras have the automatic exposure bracketing (AEB) feature?
With the iPhone, it’s possible to manually take bracketed images using the Moment Pro Camera App. The app comes at a premium price, and there is no free version at the moment. It costs roughly $10 but may depend on your location.
With the bracketed iPhone photos for high-dynamic-range scenes, you can export them to your computer and use Photomatix or Luminar Neo to perform HDR merging.
How to Take Bracketed Photos with your iPhone
- Download the Pro Camera App by Moment from the Apple App Store.
- Open the Pro Camera App.
- Select the BKT (AEB) option.
- Choose your exposure compensation levels anywhere from -4 to +4.
- Focus on your subject, stay firm, and press the shutter.
- The Pro Camera App will automatically snap 3 bracketed photos.
- You can now review the bracketed photos in the app’s film roll.


The downfall of taking bracketed photos with the Pro Camera App on your iPhone is you can’t set the ISO. In other words, the exposure compensations will be adjusted using the shutter speed and ISO settings.
At least you won’t need a tripod during the twilight hours like you normally would with ISO 100 and AEB.
If you’re interested in improving your HDR photography, I recommend using one of the best HDR software — Photomatix.

Hola Parceros,
I’m the founder of Aperlust. I enjoy web development and SEO and am into snowboarding and linguistics. In my spare time, you can find me destroying my opponents in chess across the globe.