Last updated on December 8th, 2023
The most effective way to edit an image is by using a RAW file. Unfortunately, and in many cases, only a JPEG file is available. But Topaz Labs created a software to address this issue which I’ll be summarizing in this Topaz JPEG to RAW review.
When You Only Have a JPEG File
Many camera phones and older digital cameras only had the option of saving images in JPEG format. There was also a time when you would bring your film strip to a camera store for prints and also be provided with a CD of your photos in JPEG (or .jpg) format.
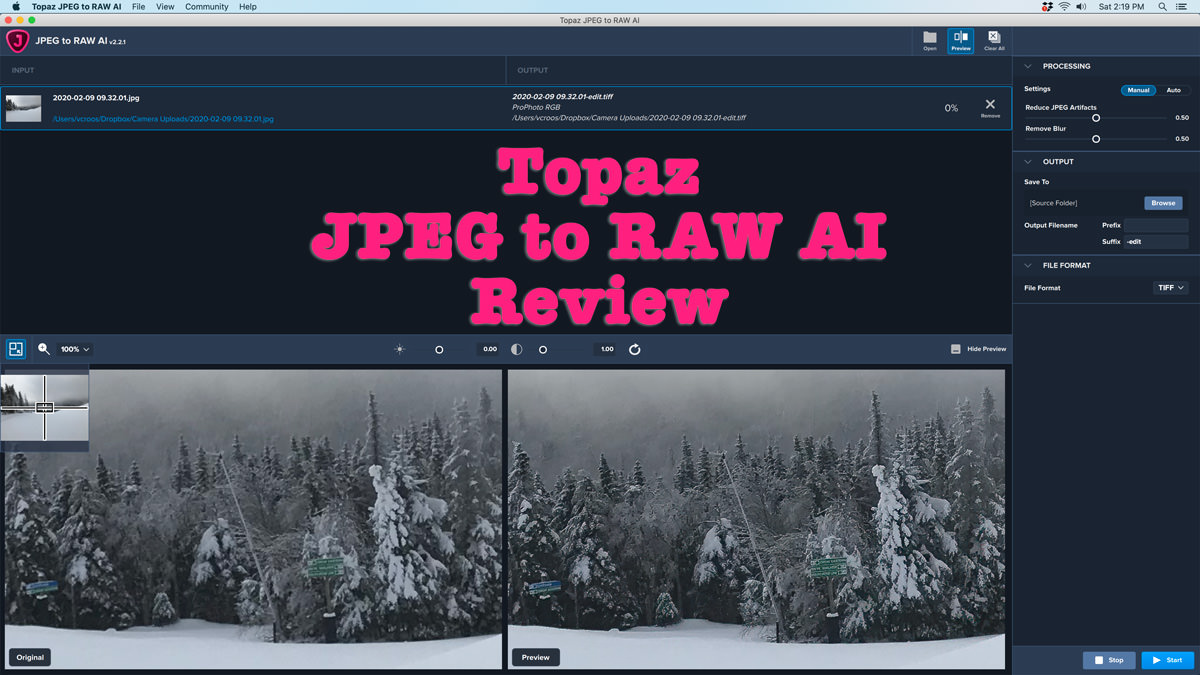
Topaz JPEG to RAW Review
In my test cases, I used JPEG images that were photographed in 2010 using a compact, point-and-shoot Panasonic Lumix camera. Back then, I wasn’t really interested in the art of photography, and I was just looking to take some touristy photos.
How Does JPEG to RAW AI Work?
Through its so-called machine learning technology, JPEG to RAW AI converts your JPEG file to a RAW DNG file.
During this process, and according to Topaz Labs, the DNG file is supposed to reduce artifacts, reduce blur, improve detail, and expand the color space to ProPhoto RGB.
I Tested JPEG to RAW AI and Below are My Results
Test Case #1
Here I used an image from Sri Lanka. Below is the untouched image except for cropping. It is a bit noisy, and the detail is flat.
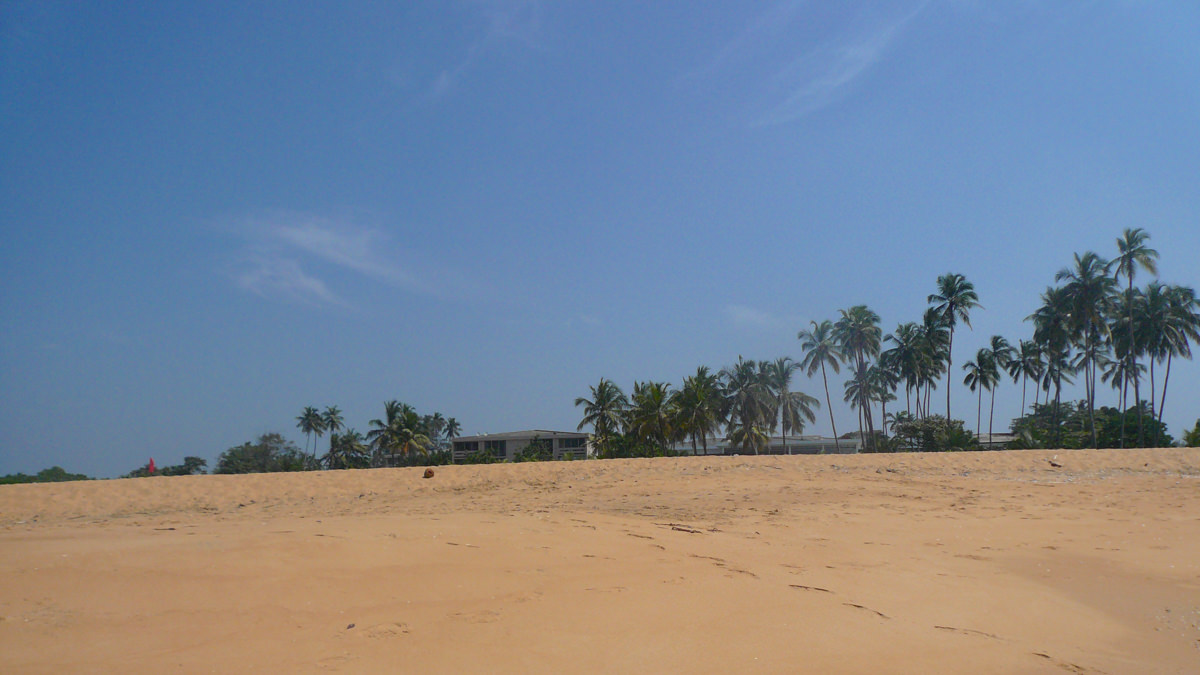
I converted the image to DNG and applied some detail, exposure, and color adjustments in Lightroom. Below are the images of the original JPEG file on the left and the DNG file on the right with the same Lightroom adjustments. Keep in mind the DNG file was exported back to a JPEG since an edited DNG file usually can’t be viewed by the web.


The most obvious improvement for the DNG image was the noise reduction. It’s hard to tell from the web, but when zoomed in, the DNG image has a little bit more detail and looks sharper.
Test Case #2
In this example, I used a nighttime image from Paris, France. Again, below is the untouched image except for cropping.
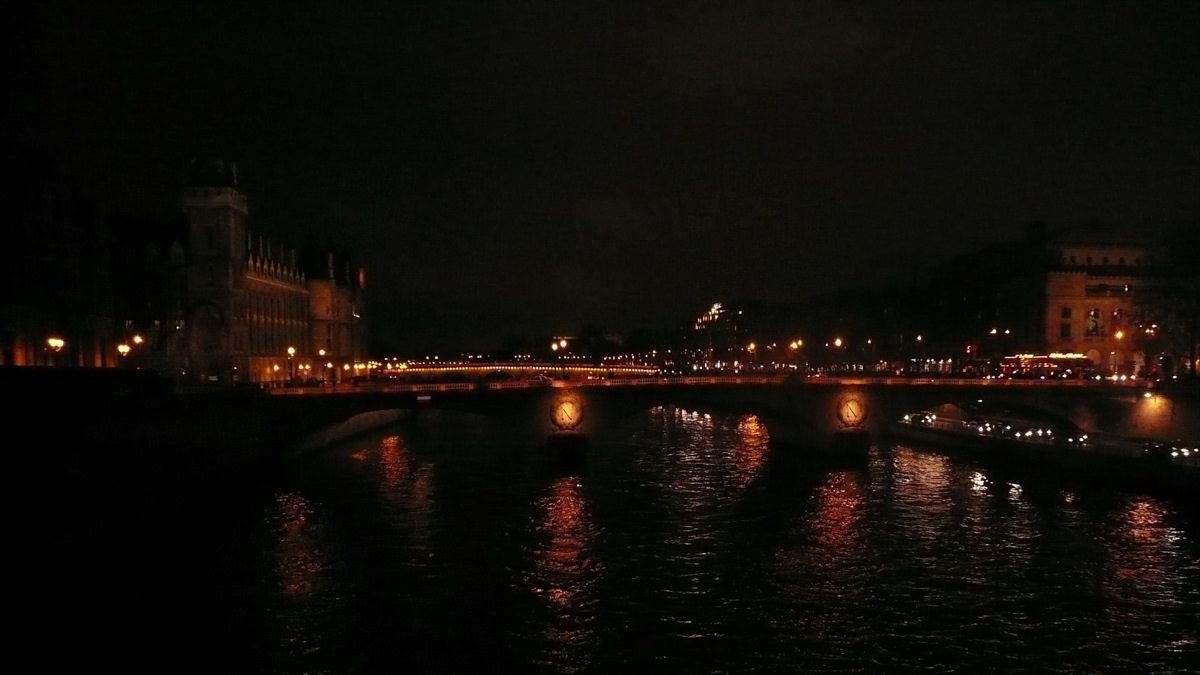
I made the same adjustments to the JPEG and DNG images in Lightroom. This time also focused on recovering the shadows.


You can see the JPEG image on the left is quite noisy, and the DNG image doesn’t have much noise but is looking soft, which isn’t ideal. I wasn’t able to recover shadows as advertised.
Price
Topaz JPEG to RAW AI costs $99.99. You can use coupon code aperlust for a 15% discount.
Conclusion
I’m not a big fan of JPEG to RAW AI because I don’t notice a significant difference in detail or shadow recovery to justify buying the software. You also may not have noticed, but there was also some vertical banding produced in the DNG images. You would need to download and zoom in on the images.
If you’re looking to edit a low-quality and low-resolution JPEG file, I would recommend enlarging the photo in Topaz Gigapixel AI and then sending it to Photoshop for advanced selective editing. You’ll have more pixels to play around with this way.

Hola Parceros,
I’m the founder of Aperlust. I enjoy web development and SEO and am into snowboarding and linguistics. In my spare time, you can find me destroying my opponents in chess across the globe.