Last updated on December 8th, 2023
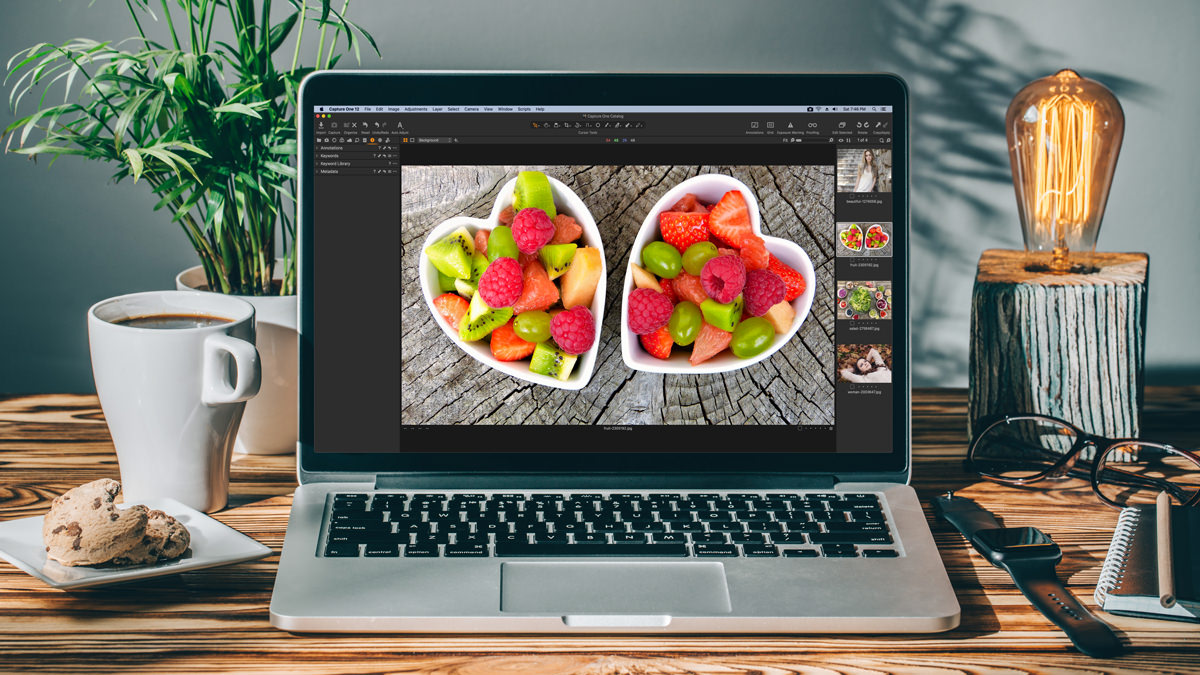
Capture One is gaining more and more recognition as the go-to photography software for image management and editing. In fact, many professional photographers prefer Capture One over Lightroom.
Why Should You Switch from Lightroom to Capture One?
1. Capture Images Directly to Your Laptop with Tethered Sessions
Capture One’s tethered sessions are preferred by professional photographers rather than Lightroom’s tethered catalog (even though the word session is used in Lightroom). The array system of organizing images into folders produces a faster workflow for many people: capture, output, select, and trash.

2. Customize the Interface
Lightroom isn’t flexible in changing the interface. You can only make some minor changes such has hiding/showing the star rating feature or changing the interface color.
On the other hand, Capture One allows users to move around the different tools and organize them in a variety of ways similar to Photoshop. This allows Capture One photographers to setup the interface to their optimal workflow.
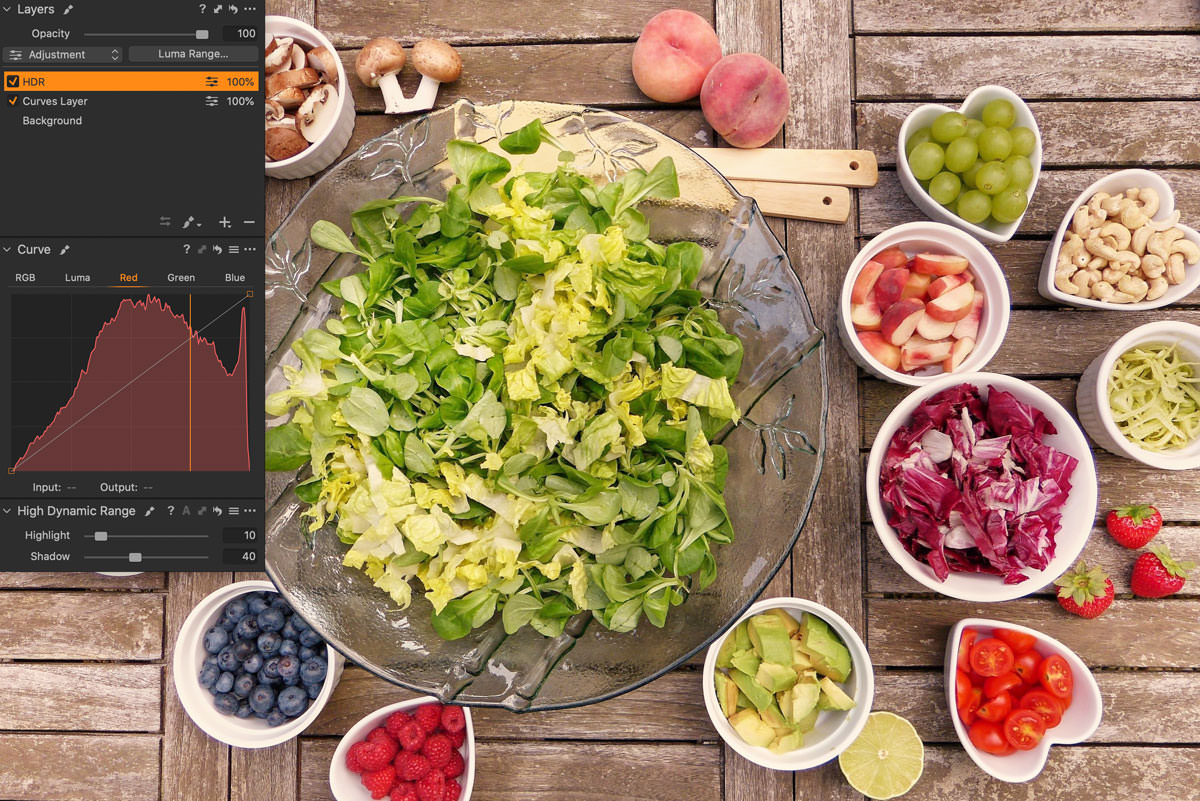
3. Use Layers to Test Out Different Types of Edits
Capture One comes with the power of layers whereas Lightroom doesn’t.
As a result, you can use layers to test out different types of adjustments to your photo and then hide/show the layers to see if the edits are optimal.
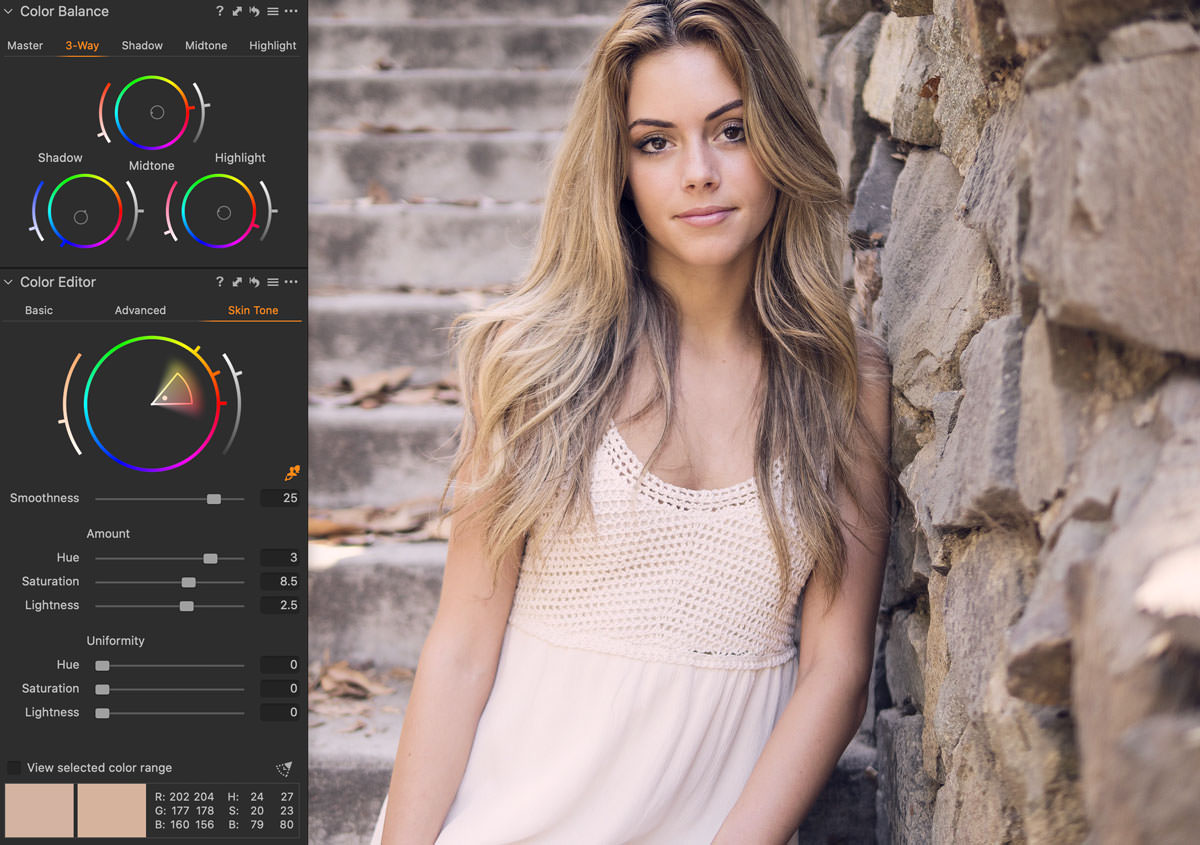
4. Color Grade Like a Champ
Capture One Pro has better color grading tools than Lightroom.
The highlights, midtones, and shadows can be altered with the color wheels.
You can also select individual colors in a photo with the color picker tool and adjust the hue, saturation, and lightness.
Furthermore, C1 has a dedicated feature to adjust the skin tones.
Combine all of this with layers to color grade like a professional photographer.
5. Export in Multiple Ways
Lightroom only gives you the option to export images to one file type and location at a time.
On the other hand, Capture One photographers use process recipes (fancy name for export) to export images in many ways. Process recipes simultaneously output multiple file formats, sizes, and color spaces.
Process recipes are useful when providing images to clients for prints and web.
6. Write Notes on Images
Add annotations to your image for faster collaborative editing.
Circle or write down what parts of the image need to be edited right on the image itself. Then share the RAW files with the annotations with your team using the EIP process recipe. This export method combines the RAW image with the annotations.
7. Avoid Paying an Adobe CC Membership
The latest Lightroom versions only come with a Creative Cloud membership. Many photographers and the general public dislike recurring charges (think Apple Music). Capture One Pro can be bought outright. You only have to pay an extra cost if you want to upgrade.
For a detailed comparison, see my Capture One vs Lightroom summary.
For more information about Capture One, read my Capture One review.

Hola Parceros,
I’m the founder of Aperlust. I enjoy web development and SEO and am into snowboarding and linguistics. In my spare time, you can find me destroying my opponents in chess across the globe.